- Go to Mail2Cloud Dashboard.
- Click on 'Add New' button at Email sync panel.

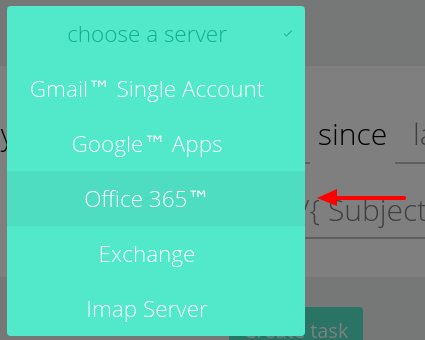
- Click on 'Choose your server' button and select Office 365.
- Enter your credentials and save.
- Click on 'Select accounts'

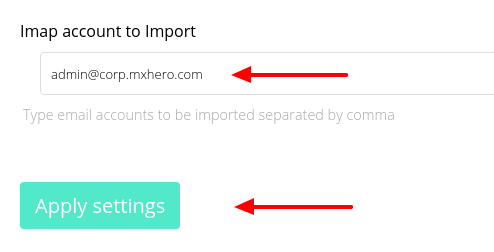
- Type the Imap accounts to Import and click on 'Apply settings' button.
- Determine the date range of emails that will be synced to your cloud storage account (iin this case we choose 'the beginning').

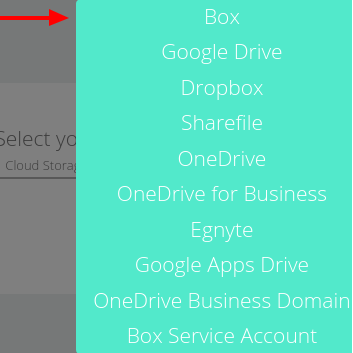
- Click on Select your cloud storage.

- Select your Box storage account and enter your credentials.
- Select 'at Folder'
- Click on '../{Subject}' button to customize the file path where your emails will be stored at the cloud storage.

This is a custom file path example:
 Note: {SubFolder} is the following custom variable.
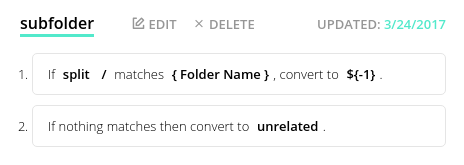
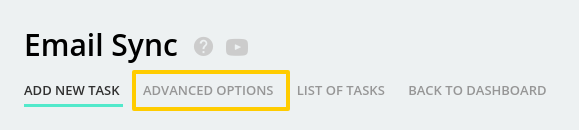
- Click on 'Advanced options'.
- Go to 'Import options'
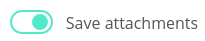
- Toggle 'Save attachments'
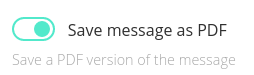
- Toggle 'Save messages as pdf'
- Toggle 'Save message as an .eml source file'
- Toggle 'Use a sub-folder for the copy of the original email (.eml file)' and type a name for the sub-folder.

- Toggle 'Save attachments'
- Go to 'Security options'
- Select 'Anyone (public links)'
- Select 'Anyone (public links)'
- Go to 'Notification options'
- Toggle 'Notify me on error'
- Enter an email address for the notifications.
- Toggle 'Notify me on error'
- Click on 'Apply settings' and the on 'Create task' button.
Case: Email sync filing through targeting specific folders into their Office 365 accounts
Have more questions? Submit a request
Comments